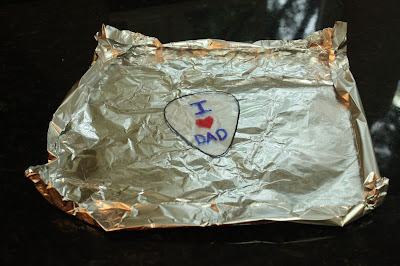
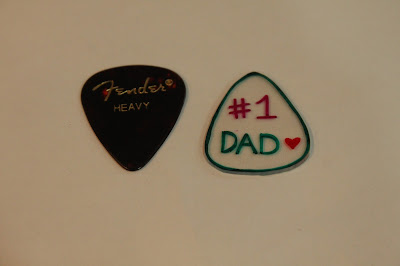
Ever since we discovered Shrinky Dinks, the girls have been begging me to do them again. I found a DIY Shrinky Dink tutorial online and we made these cute little guitar picks for Tim.
Two things amazed me: 1. It was so inexpensive and 2. It actually worked!
Here are the supplies you'll need to make your own Shrinky Dinks:
- permanent markers (we used Sharpies)
- foil
- paper bags to cover your table when coloring with permanent markers
- nail file or sand paper (optional)
- template (I found my guitar pick template online here. To make a different template, enlarge a picture to 250% and cut it out.)
- #6 plastic (This can be found in many food packaging materials, such as clear takeout containers. We used disposable cake pan lids that we purchased at Dollar Tree. Look for the number 6 inside the triangle.)
To make your Shrinky Dinks:
1. Preheat your oven to 325 degrees.
2. Make a template. We were making guitar picks so I found an enlarged image of a guitar pick online here and here. You could also copy a pick at 250% of its original size. Cut out the enlarged image and traced it onto sturdy paper (to make for easier tracing on the plastic).
3. Cut the plastic into a flat sheet and trace the guitar pick template. I used a thin black Sharpie to trace the pick.
4. We did not sand the plastic (I didn't like the way it looked scratched up when sanded), but if you lightly sand one side of the plastic and color on that side, the marker will adhere better. Without sanding, the marker will likely start to scratch off after awhile unless you are also planning on using a sealer on it.
5. Cut out your picks and start coloring with your permanent markers. Remember that the designs will shrink down considerably so you may want to make smaller, more simple designs. I traced along the border of the picks with a thick Sharpie, which gave it a nice border and "erased" the thin black Sharpie lines that remained after I cut out the picks.
6. Place the picks on a “cookie sheet” crafted from foil. You can also use a regular cookie sheet lined with foil, but it makes the shrinking process take a little longer.
7. Place the picks into the oven (we did two at a time), and after about a minute they will start to bubble, shrink and curl up. Don’t worry about the curling – they will flatten themselves out as the shrinking process finishes.
8. Carefully remove them from the oven – if you’re still concerned that they’re not perfectly flat, you can place something flat and heavy (we used a book) on them while they cool, but you’ll have to work quickly as they cool very fast.
Rock on!


1 comment:
this is so helpful! i want to make this for this guy i have a crush on, thank you so much.
Post a Comment